
Valentine's Day is coming up fast! So Emily and I decided to do a Valentine themed project once a week until Valentine's Day. Not only will it be cheaper on your wallet but it's much more personal than a box of chocolates. So with this project I thought nothing says I love you more than a deck of playing cards with 52 reasons why you love your special someone. The cool thing about this project is that you can customize it anyway you want. All you really need is Microsoft Powerpoint. That's how I created my ultimately simple but totally cool design for my reason cut outs. Also, most of the stuff in the supplies list are things you probably already have laying around house. I suggest you go ahead and write a list of 52 reasons why you love your partner before you start this project. Maybe even take a couple of days to think about it while you are spending time with that person. It makes the project so much more involved and more special. Happy Crafting!!

Supplies:

- 52 Reason Cut Outs ( I used a 2.8"h x 1.8"w rectangle shape in powerpoint)
- Mod Podge (good for just about anything )
- 52 playing cards and 2 of the extra jokers for the cover and hole punch guide
- scissors
- paint brush
- red acrylic paint (optional)
- book rings
- single hole puncher
Directions

1. This step is optional only because it's not really necessary to paint the book rings. I only painted mine for decorative purposes. So proceed with this step only if you want to paint them. It's pretty much self explanatory. Just use the red acrylic paint (or whatever color you choose to go with) and paint the book rings. SIDE NOTE: Once the acrylic is dry it does scrape off of there pretty easily. So, you might not want to go ahead with it unless you are trying to go for a rustic look. Then by all means knock yourself out.
2. Punch two holes in one of the spare jokers. One near the top left corner and one near the bottom left corner. This will be your hole punch guide. Now take your other spare joker and turn it over so the decorative back is showing. Line it up with your hole punch guide and punch two holes into the decorative back of your spare joker (one should be at the top left and the other the bottom left on the decorative side of the card). Set aside. This will be the cover of your 52 reasons.


3. Next, grab about 2 or 3 regular playing cards with numbers face up and line them up with your hole punch guide. I used a paperclip to hold all the cards together to make it easier for hole punching, but do whatever works for you. Continue to do this until your entire deck is hole punched. One hole near the top left and the other near the bottom left same as the hole punching guide.
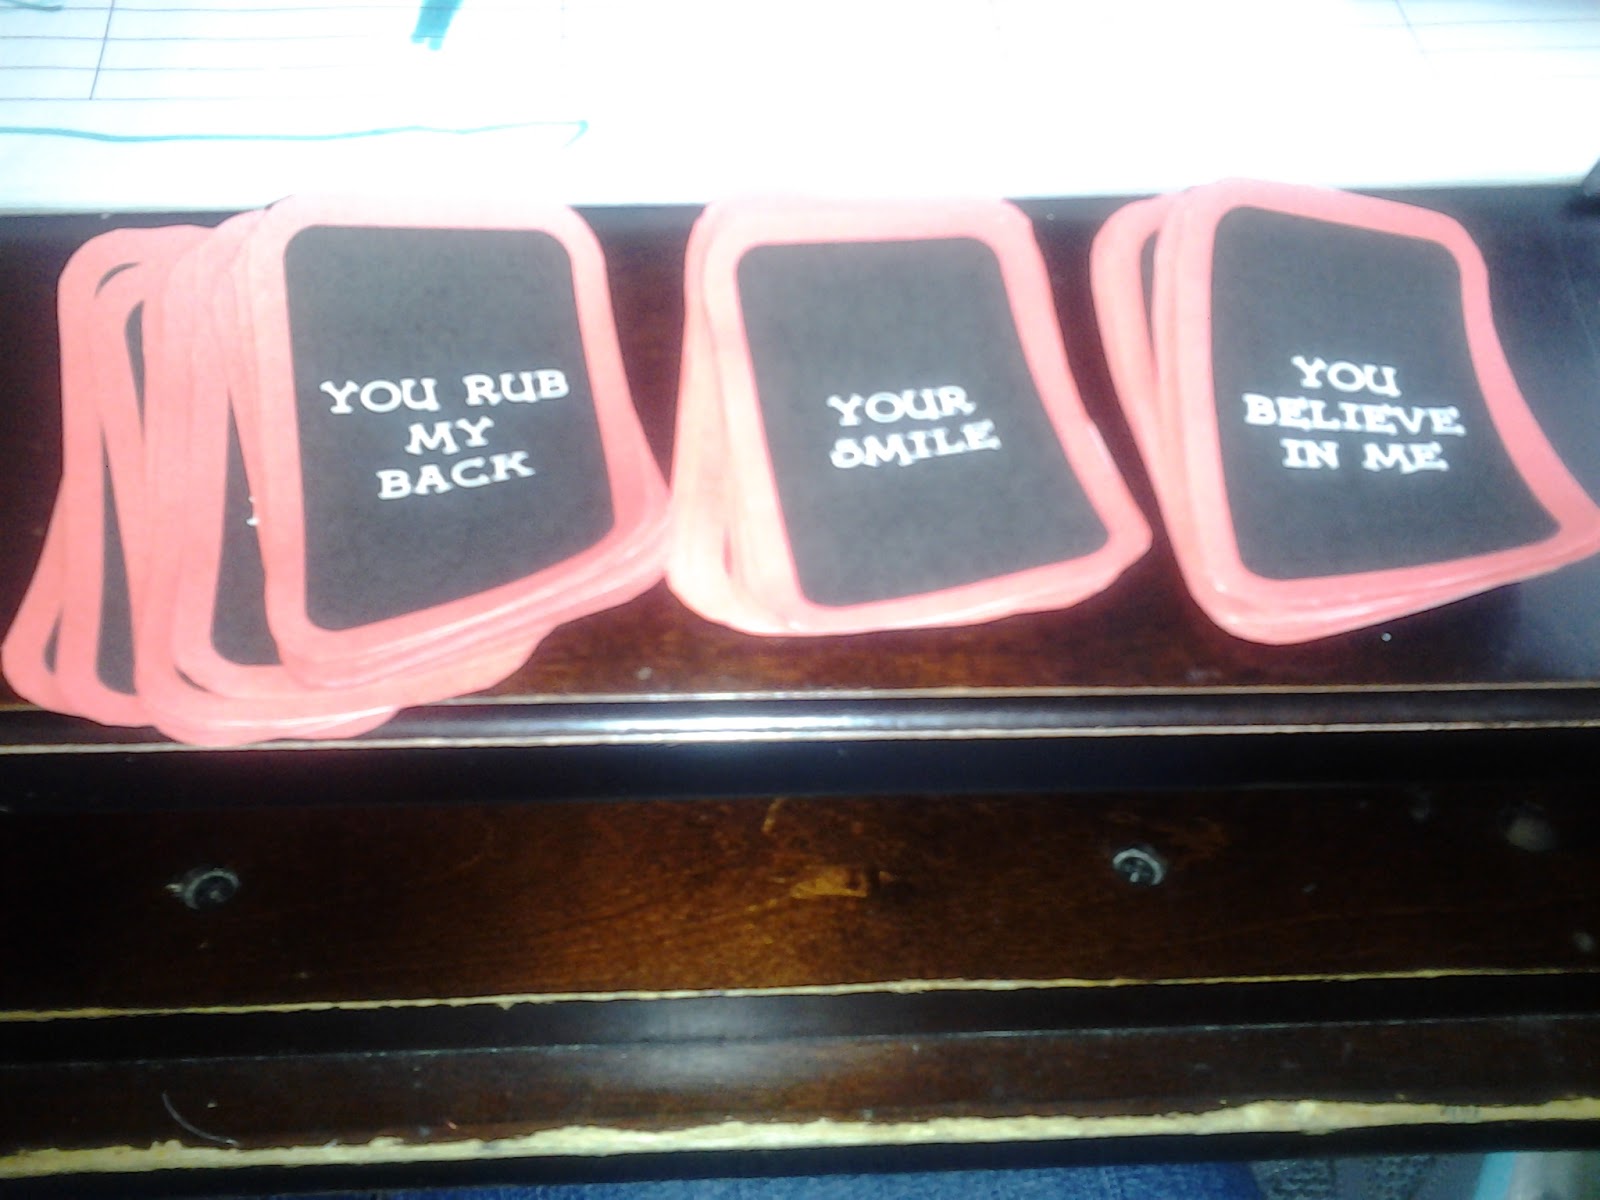
4. Now, you'll want to cut out all of your 52 reasons and 1 title card for you cover. This part is purely your own design. You can use pretty much any computer program to design what you want your reasons to look like. I used Powerpoint and made a pretty basic design, but play around with yours. You'd be surprised what you can do with Powerpoint.

5. Take your mod podge and a paint brush and apply a thin layer of mod podge onto one of your cards. You don't want to put too much because when you go to lay down your reason you might get air pockets.

6. Slowly apply one of your cut out reasons, pressing down slightly for it to stick to the card.

7. Apply a liberal top coat of mod podge. Be careful not to brush too hard against the ink or your able to smear the ink like I did to the first couple of mine. You live and you learn.

8. Set aside. Repeat steps 5-7 until all 52 cards done and let dry completely. Now, remember that spare joker card that we put to the side earlier? Grab that card and do the same thing to it that you did to all 52 of the other cards only this time you need to put your mod podge on the decorative side of the card. When you complete this you should have 53 cards total.

9. After your cards are dry you'll want to assemble them. The cover should be the first card you see then all of your reason in the order you want them. Stack them into a nice deck and thread them through your book rings.
Voila!!! 52 Reasons Why I Love You! If you have any questions please feel free to comment. I hope you guys have fun and get creative with these. Let me know how they turn out!
We are linking to...
Days of Chalk and ChocolateHere's To Handy Andy
Gingerbread
Polkadot Pretties
I Heart Nap Time
Homemaker on a Dime
My 1929 Charmer
The Southern Institute


That is so personal and sweet. Really nice idea.
ReplyDeleteThanks for sharing your creative inspiration at Sunday's Best Party! Yours took thought and time to create. That's so much better. Its wonderful you can think of 52 reasons why you love him. I'd have to think really long and hard. Thanks for sharing your creative inspiration at Sunday's Best Party!
ReplyDeleteThank you! He hasn't gotten his yet, but I'm hoping it will blow him away!
DeleteGreat post, thank you for sharing !!!
ReplyDeleteHope you will stop by and link up another fabulous post, linky party is up !!!
Claire xox
Thanks Claire! And it's no problem and I'll definitely stop by and link up again :)
ReplyDeleteon powerpoint how did you create the 8 boxes? were they just text boxes?
ReplyDelete@ Coree I actually used the shape option to create the boxes. The rectangle one that has the rounded edges. I used powerpoint 2007. The shapes are under the home tab on the far right. hope this helped!
ReplyDeletei did something like this for my boyfriend. but i only came up with 50 reasons (shame on me, i know :-P) and cut out 50 paper hearts instead and put them in a box i made myself (http://www.homemade-gifts-made-easy.com/free-gift-box-templates.html)
ReplyDeleteI love your version of this project and that you showed the steps in detail too. I am sure it is a treasured gift!
ReplyDelete